Reliving Travel Memories in the Kitchen
 One of my favorite things about traveling is the food. I’d love to visit lots of great restaurants in every place we visit. But with kids, we usually eat street food, quick lunches at little neighborhood cafes, cobbled together picnics from bakeries and outdoor markets, and dinners at our rented apartment from unfamiliar ingredients we find at the grocery. Many of my best travel memories involve food: my three-year-old old son gulping down in two seconds a three euro macaron from Pierre Hermé in Paris (No! Stop! Enjoy it!); getting stuck in Marbella, Spain, in a downpour and eating freshly fried churros and chocolate huddled under a patio umbrella while we waited out the storm; savoring the best fish and chips ever at the ferry dock waiting for the boat to the Isle of Skye in Scotland; an amazing handmade Danish pastry from a teeny tiny bare bones grocery in the middle of nowhere Denmark. The list goes on. For the most part, we didn’t search out these experiences, but simply stumbled on them as we’ve eaten our way through Europe. I used to spend hours researching restaurants before we traveled but it exhausted and frustrated the family as I dragged them from one side of a city to the other trying to find the “best” whatever according to some blog. Now I just keep my eye out for interesting food wherever it might appear and just eat whatever happens to be around when we’re hungry. It’s not always great but it’s usually interesting (I’m looking at you: pickled herring sandwich from a carnival in the Netherlands).
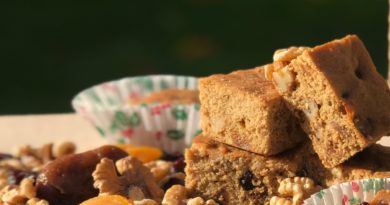
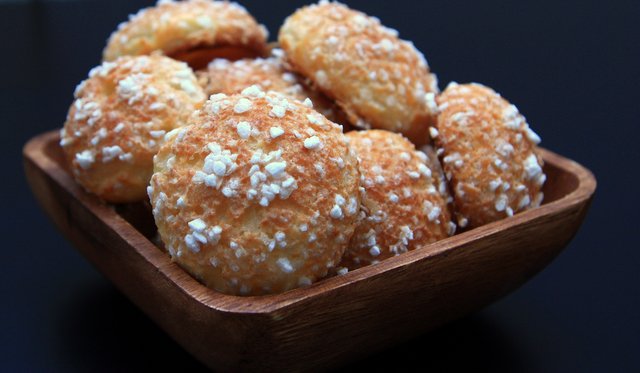
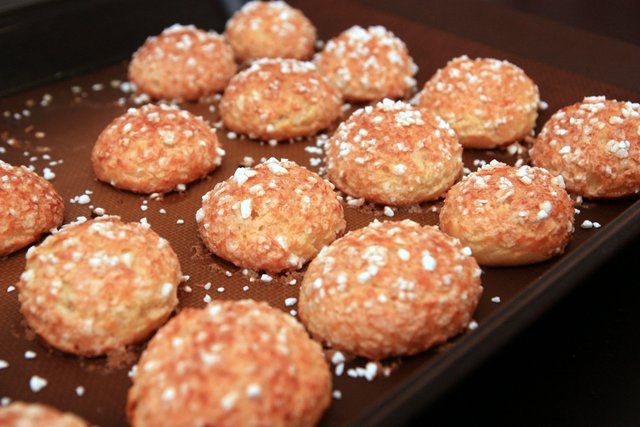
We enjoy these memories through our photos, but it’s even more fun to recall them with our taste buds as I try to recreate some of the fun foods we’ve tried on our travels. A recent favorite is chouquettes, aka “sugar puffs,” an unfilled cream puff covered in pearl sugar. It’s a simple Parisian snack that you can get at lots of neighborhood bakeries, sold by weight rather than by piece. It’s nothing to write home about but eating them always made me feel like if I lived there, that it would be part of my routine like Sunday Zopf (braided bread) is here in Switzerland.
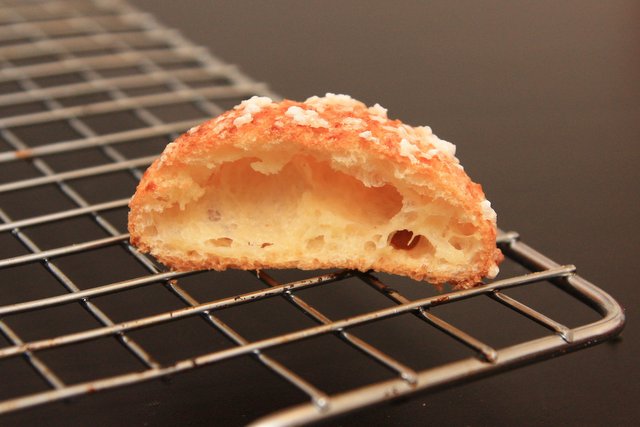 the hollow, but sugar-coated, puff makes for light snack
This recipe is nothing new; lots of blogs have written about chouquettes. I include it here simply as an inspiration. Of course, you should try these and imagine yourself strolling along the Seine at sunset. But also, I want you remember your last trip and the food that made you and your kids smile, then try to make it at home. Even if it fails, just living in that food memory for awhile is bound to carry you away from your daily routine for a bit and inspire another trip.
As I looked around for chouquette recipes to try, I found that most are practically identical but, maddeningly, differ ever so slightly in the proportions and temperatures. Which one would make the perfect chouquette and why? The first time I made chouquettes, I had six different recipes spread around my kitchen and I ran back and forth consulting them all when I wasn’t sure. The chouquettes turned out great and after a couple more times making them, I realized that they are quite easy and I didn’t need to fuss so much. Even my nine-year-old made them mostly by himself and they came out just as good. I don’t know what the perfect chouquette is but the entire basket of mine were gone in a few minutes and that’s good enough for me. Now I’ll go eat a few I hid from the kids and dream of Paris. How about you?
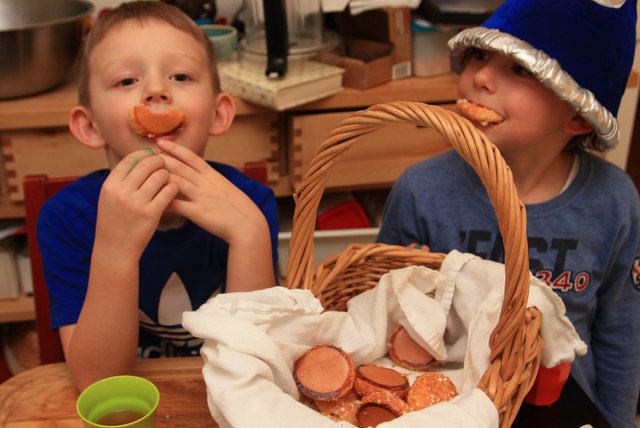 Happy customers!
Recipe: Chouquettes
Adapted from a variety of sources, including Cook’s Illustrated, David Lebowitz. and this helpful video from JoyofBaking.com.
The instructions may look long but it’s actually a simple process. I just tried to include lots of information to help you be successful. This recipe makes about 20 small puffs. This will vary depending on the size you make.
Ingredients
1/2 cup water (125ml)
1/4 tsp salt
2 tsp sugar
5 Tbs unsalted butter (70g), cut into small chunks
1/2 cup flour (70g)
2 eggs (It should be about 1/2 cup in volume. If not, add an extra egg white.)
About 1 cup pearl sugar (aka Hagelzucker, available at any grocery)
Method
1. Preheat oven to 220 C.
2. Bring the water, salt, sugar, and butter to a boil in a medium pot over high heat. When the butter is melted and liquid is boiling, take the pan off the heat.
3. Dump in the flour all at once and start stirring vigorously with a wooden spoon. It looks terrible at first (I was worried!) but quickly comes together to a smooth paste. Return to the medium heat and stir and mush the mixture around the pan for 3 to 5 minutes. The mixture should come away from the sides and look like wet sand. You must do this for a minimum of 3 minutes or your puffs will not puff (I know from experience!).
4. Transfer the dough into a stand mixer or food processor and mix briefly to help it cool down a bit.
5. In a small bowl, lightly mix the eggs together with a fork. You should have about 1/2 cup of egg mixture. Discard any extra.
6. If using a food processor, gradually add the eggs through the feeding tube while the machine is running. Process for about 30 seconds. If using a stand mixure, gradually add the eggs while the machine is running and continuing mixing for a minute or so until the eggs are completely incorporated. The final mixture should be smooth, thick, and shiny.
Note: This step can be done by hand, adding the eggs one by one, stirring after each addition until fully incorporated before adding the next one. I tried this and it is possible, but takes some arm strength and time. I find it much easier to use a stand mixer or food processor.
7. You can use the mixture now or store it covered in the fridge for a few hours. You can use it directly from the fridge and do not need to bring it to room temperature.
8. Now you can form the chouquettes. Prepare a baking sheet and line with parchment paper or a silicone baking mat. Spoon or pipe out little mounds for each chouquette. You can accomplish by simply using two spoons to scrape the dough onto the sheet. Or you can scoop the dough into a piping bag and use a 1/2 inch tip to pipe little mounds. I fit 20 mounds on one baking sheet using a 1.5 tsp spring-loaded scoop. I tried other sizes and this seemed to be just right. They look small now but they puff up a lot.
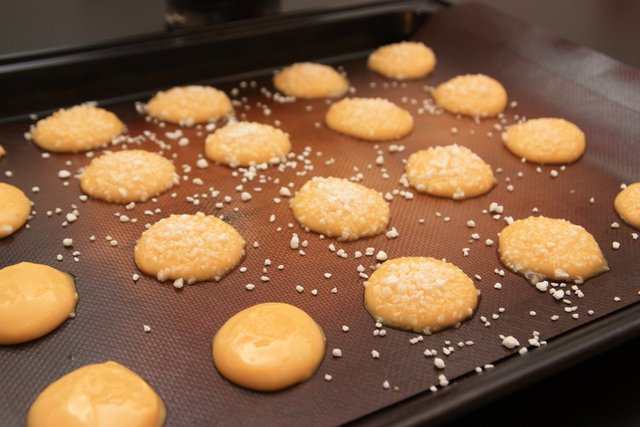 Some recipes cautioned me to smooth down any lump or they would burn. I didn’t find this to be a problem. The dough itself settles and after a couple minutes doesn’t have any bumps. Plus the sugar covers the whole surface. Don’t be too fussy; just get some lumps on the pan.
9. Sprinkle lots of pearl sugar over the top of each mound; the more the better.
10. Bake at 220C for 15 minutes, then turn down the oven to 180C and bake another 10-15 minutes until puffs are golden brown and crispy. Each oven is different, so just check your puffs regularly. Turn down the heat if they are getting too dark. If you’re not sure they are done inside, simply take one out and cut it open. If the inside is cooked, not doughy, you can take them out early if they are getting too dark on the outside.
 11. Cool a couple minutes so the hot steam doesn’t burn your mouth, then start eating. They are best the same day you cooked them. After that they can get soggy. You can freeze cooked puffs and re-crisp them in the oven later. But I doubt you’ll have any leftovers for that.
P.S. My kids got a little creative and topped the puffs with chocolate and sprinkles. They loved the chocolate ones but the weight made them not puff so much.
 Happy baking!
By Tanya Deans
Tanya has lived in Zurich for eight years, hoping her two boys one day appreciate all the good food they’ve been eating (or at least seeing) all these years. She writes the blog Moms: Tots: Zurich, which details family-friendly activities in and around Zurich, particularly hikes and outdoor adventures.