Easter Egg Stained Glass
To help decorate for Easter, we created these very easy Easter Egg stained glass plates. You probably have all the materials on hand so it’s also quick to set up for those kids who want to do an activity “right now!!!”
Materials
paper plates or plain paper
strips of tissue paper
clear contact paper.
Instructions
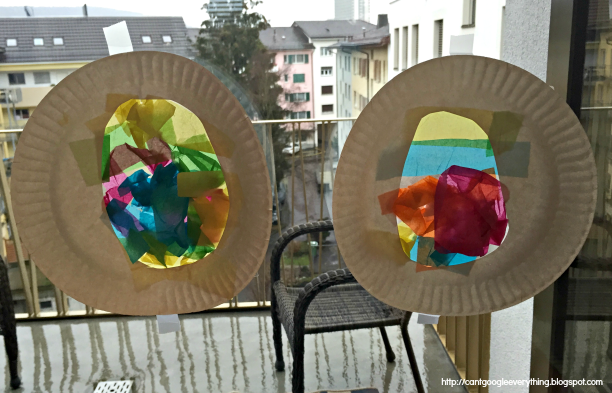
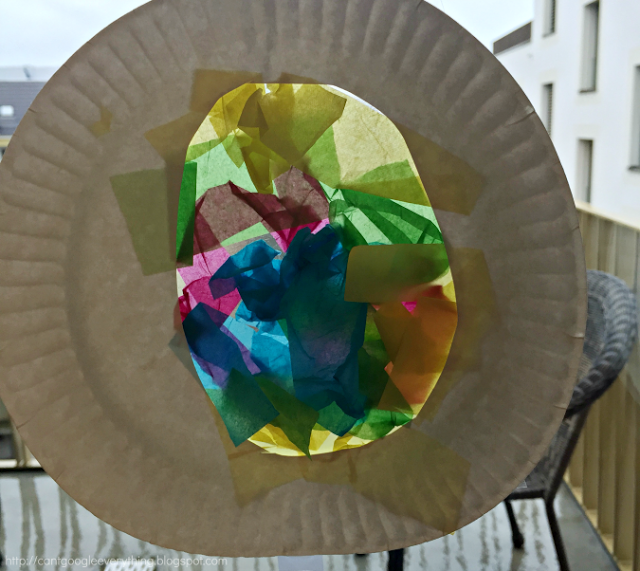
Cut an Easter Egg shape in your paper plates. You could also do other Easter themed shapes, such as a cross, Easter bunny or baby chick. It’s really open ended so do whatever shapes you’d like.
Cut the contact paper to fit the paper plate and place it over the back, sticky side out. Alternately, you could decorate the contact paper first, and then stick it on the plate, whichever method works best for your kid.
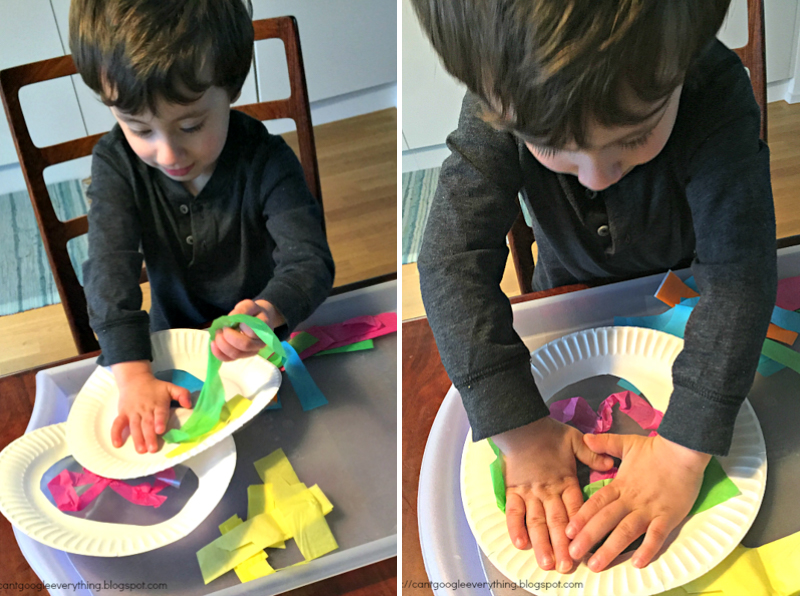
Stick strips of tissue paper to the contact paper. My intention was to have nice pretty tissue paper lines, but of course my son wanted to just scrunch the paper up and press it on as hard as he can. It’s his art so I let him do it how he wanted. Get creative!
Optionally trim the tissue paper on the sides so you only see it through the egg shape.
Display on a window to let the sun shine through (assuming there is sun!). It’s cloudy more often than not here in the winter, but sometimes we get a little sunlight through this window!
What shapes will you make?
Text and photos by Rachel Blate.
Rachel is a lifestyle blogger with a blog focused on travel, kids activities and life as an expat. Originally from the US, she currently lives in Zurich with her husband and 3 year old son. Find her blog at Can’t Google Everything and follow her on Facebook and Instagram.