Food As Love: Creating A Family Recipe Book
Do you love home cooking? Do you have a catalogue of favourite family meals, baked treats, and creations for special occasions? Have you ever thought about recording those recipes to pass on to your children?
If so, you may be the perfect candidate to create your very own bespoke Family Recipe Book.
A year ago I began such a project for my husband’s side of the family in New Zealand. Family across four generations sent me copies of favourite hand-scrawled recipes, family photos, and fond food memories. The project became a wonderful opportunity to connect with family and heritage.
But before embarking on this project, I found that there was a dearth of simple step-by-step guidelines available on the Internet on how to create a family recipe book. I am therefore writing this article to share what I’ve learned and perhaps even inspire others to take on a similar project in 2016.
Food As Love
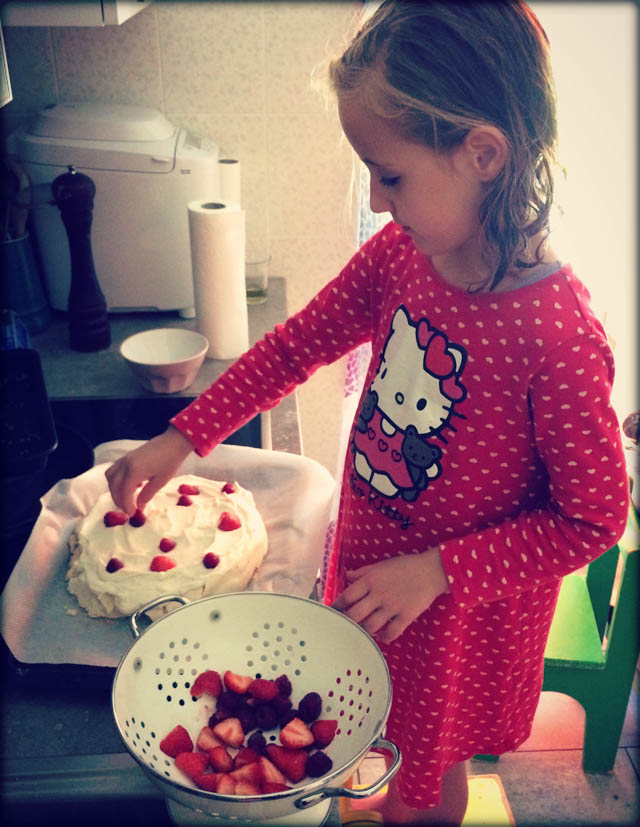
Feeding our families is often about so much more than providing sustenance. It is a daily act of love, and when we recreate favourite recipes designed to delight, we’re also in the business of creating happiness. The nature and history of home cooking is unique to each family, and expats evoke a little piece of their families and home countries when they recreate favourite recipes from their home kitchens. As a New Zealander, I love offering up a Pavlova, topped with whipped cream and sliced kiwifruit, on special occasions (see recipe below).
While loved recipes are unique to each family, it’s fascinating to think about the political, social and technological influences that play a role in shaping the kinds of foods we come to adore. Favourite recipes of my grandparents’ generation in New Zealand illustrate that baking and cooking involved fairly basic ingredients used in a myriad of ways. Flour, sugar, eggs, and dried fruit form the basis of most baking and dessert recipes. Fruit harvested and bottled was essential for all the delights of fruitcakes and puddings. There were no store-bought pre-packaged cookies or cake mixes to grab from the supermarket. There were no supermarkets. Families worked incredibly hard to be self-sufficient and to keep children happily fed.
With the advent of cold-storage solutions, food storage and transportation options increased vastly. With increased migration in the 1980s, international food influences began to infiltrate New Zealand kitchens. New flavours, spice and foreign ingredients began to appear in recipes. More recently, a generation of New Zealanders have begun to grow wary of chemical food additives, genetic engineering, chemical food sprays, and refined sugar. Food allergies, obesity, and wheat and gluten intolerances have increased dramatically, making us wonder if handing the control of food production and preparation over to companies was such a great idea. By trading in self-sufficiency for convenience, we’ve also traded in the knowledge of what exactly is in our food. It’s fascinating to see these trends reflected in the recipes included in our family recipe book.
Your particular family history will be different. But it’s a real treat to see how recipes change over time.
How to Create Your Recipe Book: Phases of Book Development
1. Get Buy-In. Before trying to create a recipe book, it’s important that you get buy-in from key members of your family back home. For me, this was my mother-in-law. I contacted her with my idea, and her enthusiasm ensured that other family members got on board and the project didn’t grind to a halt.
Be aware that getting family members to contribute may sound like an easy task, but it can take some determination to ensure that even motivated family members make the time to find, scan and send appropriate content. People are busy and you’re asking them to add another task to their already long “to-do” lists.
2. Gather. The next step is gathering recipes, stories and photos. While email communication will be fine most of the time, don’t forget about older relatives who may not be connected online. You or your key support person back home may need to pick up the phone or write a letter. Be aware that this step may take some months. They are all busy with their own lives and it may be difficult for them to make your idea a priority. They will need time to find old photos and recipes and scan images. Be patient and politely persistent when necessary.
3. Select Publishing Options. There are now many options of book software available, catering to a wide range of publishing needs. When making your selection, have a think about your priorities. Do you want to use a pre-formatted cooking book software, such as createmycookbook.com, specifically designed for bespoke cookbooks but which limits visual creative choices in layout and appearance? Or would you like a more generalised book software such as blurb.com or lulu.com, which will give you extensive creative freedom but require more hours of formatting?
Some of the publishing options include:
- tastebook.com
- cookbookcafe.com
- lulu.com
- shutterfly.com
- blurb.com
- createmycookbook.com
- bookemon.com
- picaboo.com
Before making your decision, be sure to consider available book formats (such as spiral-bound, hardback etc), shipping charges, digital background themes and pre-designed photo/text formats.
I chose blurb.com as it has pre-designed formats for recipe books, but also allows a great deal of freedom with formatting. Additionally, relatives are now able to order a finished copy of the book in their choice of binding directly from the site.
4. Make Creative Decisions. There are a whole bunch of decisions to be made when presenting your book:
- layout
- themes
- appearance
- typed/handwritten text
- images
- photos
- page backgrounds
I chose to include handwritten scanned recipes, my own typed versions, and scanned family photos. I divided recipes into sections such as Mains, Baking, Desserts, and Kids’ Favourites, and organized recipes alphabetically, with an attribution to each contributing family member. I also included an introductory section where some family members convey food memories from their childhood.
You may wish to add an image of your family tree, photographs of prepared recipes, and interviews with family members.
5. Input Data. I found this the most time-consuming part of the project. This is when all the recipes and photos are inserted into the software. At the beginning I got a little overwhelmed by the volume of work that lay ahead, so I decided to tackle it in small chunks. I set myself a goal of three recipes a day, and was pleasantly surprised that by the end of a month they were all in.
6. Chase Content. You will inevitably need to chase down family members for content that remains missing. Communicating an exact deadline may help with these final loose ends. If they’re not able to provide the material, then just work with what you have and get the book finished.
7. Revise. After spellchecking, have at least one other family member read through the final draft copy. Make sure they pay attention to details such as page numbers matching to the table of contents, and whether family names are spelt correctly.
The Project In Review
I feel immensely proud of the book I’ve compiled. Cherished and favourite recipes are now all together in one easily accessible book, and precious handwriting samples and food stories have been copied and recorded. I get a great deal of joy from trying new “old” loved recipes, and it’s wonderful to know that I can pass the book on to my children.
I hope this article helps any aspiring cookbook authors among you to create your own treasured volume of family recipes.
Recipe: Pavlova
(From the Edmonds Cookery Book – a staple in NZ kitchens, first published in 1907.)
Essentially a Pavlova is an enormous meringue. It’s a dessert named after the Russian ballerina Anna Pavlova. There is much debate and friendly (mostly) banter amongst New Zealanders and Australians as to who first invented the Pavlova, but needless to say it remains a well-loved dessert Down Under. My old anthropology lecturer Helen Leech has even written a book on the subject: The Pavlova Story: A Slice of New Zealand’s Culinary History.
A Pavlova is a deceptively simple recipe consisting of largely egg whites and sugar. But a skilful Pavlova baker will create a meringue that doesn’t collapse on cooling. My best tips are to make sure the sugar is added very slowly and is fully dissolved, and that you don’t open the oven door until the oven is completely cooled.
Good luck and enjoy!
3 egg whites
3 tablespoons cold water
1 cup caster (fine) sugar
1 teaspoon vinegar
1 teaspoon vanilla essence
3 teaspoons cornflour
Preheat oven to 150 C. Using an electric beater, beat egg whites until stiff. Add water and beat again. Add sugar very gradually while beating. Slow beater and add vinegar, vanilla and cornflour.
Line an oven tray with baking paper and draw a 22-centimetre circle on it.
Spread the Pavlova to within 2 centimetres of the edge, keeping the shape as round and even as possible. Smooth the top surface.
Bake for 45 minutes, then leave to cool in the oven. You can leave it in the oven overnight.
Carefully lift onto serving plate. Top with whipped cream and your choice of fresh fruit. NB: Round slices of kiwifruit are a traditional favourite.
By Rachael Soster Smith
Rachael is a freelance writer, mother, and head chef to three growing children. Rachael enjoys experimenting with gluten and low-sugar recipes, and works hard to keep New Zealand food traditions alive in her family kitchen.
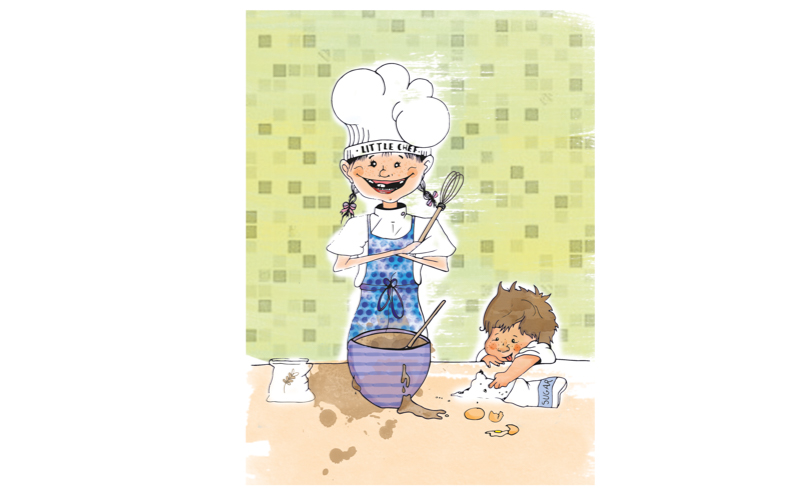
Illustration by BVisual.
Beth (“BVisual”) graduated from university after studying visual communication, specialising in illustration. She’s has been working as a freelance creative and undertaken projects such as the V&A Illustration Awards in London. Beth has projects involving portraits and editorial illustrations under her artist’s name BVisual.