Foil Picture
 I wanted to do a craft that was a little more challenging this time and saw a photograph of a fish which had been done in this style. From that moment I knew I wanted to find out how the effect had been created. I was surprised to find that it is actually quite simple but does take a long time as it needs lots of time to dry. I am very pleased with my owl and I hope you will enjoy the results of this craft too.
Materials:
- Piece of thick card (I used A4 size)
- 2 pencils (one sharp, one blunt)
- PVA glue in a tube – (Universalklebstoff)
- Glue stick (or more PVA glue)
- Tin foil (one piece, larger than your card)
- Shoe polish/black paint
- Cotton wool
Instructions:
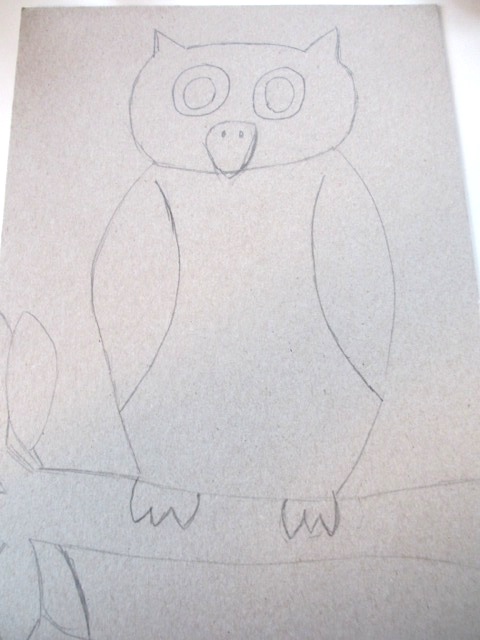
1. Draw the outline of your picture on the card. Keep the outline simple, as you can add details later.
 2. Go over the outline with a thick stream of PVA glue. Leave to dry completely; overnight is best.
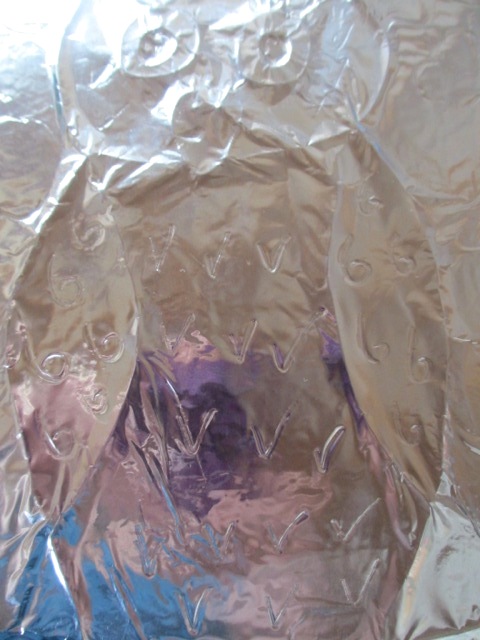
 3. Cover your card with glue and carefully stick the tin foil over the outline. Start from the middle and gently push the foil onto the card so that the outline stands out. Use a tissue to push the foil down to stop it tearing.
4. While the glue is still wet use a blunt pencil to add patterns to all the areas of your picture.
5. Let the glue dry underneath the foil then rub shoe polish or paint over the picture. Leave it a few minutes and then wipe it off again. The polish will stick to the pattern and leave a wonderful effect. If you feel it needs more detail highlighted then go over the patterns with a black felt pen.
By Karen Clayton
Karen is originally from Scotland and now lives in Zurich with her husband and two sons. She is a primary school teacher who now runs her own business, Smart Owls, offering English tuition for children and workshops for different age groups. More information can be found at smartowls.wordpress.com.


